When it comes to outdoor lighting, water damage can be a major headache. Many homeowners face this issue, especially after heavy rains or floods. Arthur Green, an expert in outdoor electrical repairs, once stated, “Many underestimate the importance of protecting their flood lights.” This highlights the need to understand how to repair a water damaged outdoor flood light effectively.
Dealing with water damage is not always straightforward. Often, it requires careful assessment and remedial action. Begin by cutting off the power supply to avoid any electrical hazards. Once safe, inspect the fixture and surrounding wiring thoroughly. Remove water, corroded parts, and dried debris to assess any long-term damage.
Using appropriate repair techniques can help restore functionality. Remember that while some repairs might seem easy, others may require expert intervention. It’s critical to weigh your comfort level with DIY repairs against calling in a professional. Knowing how to repair a water damaged outdoor flood light can save both time and money, yet demands a cautious approach. Always prioritize safety to prevent future issues.
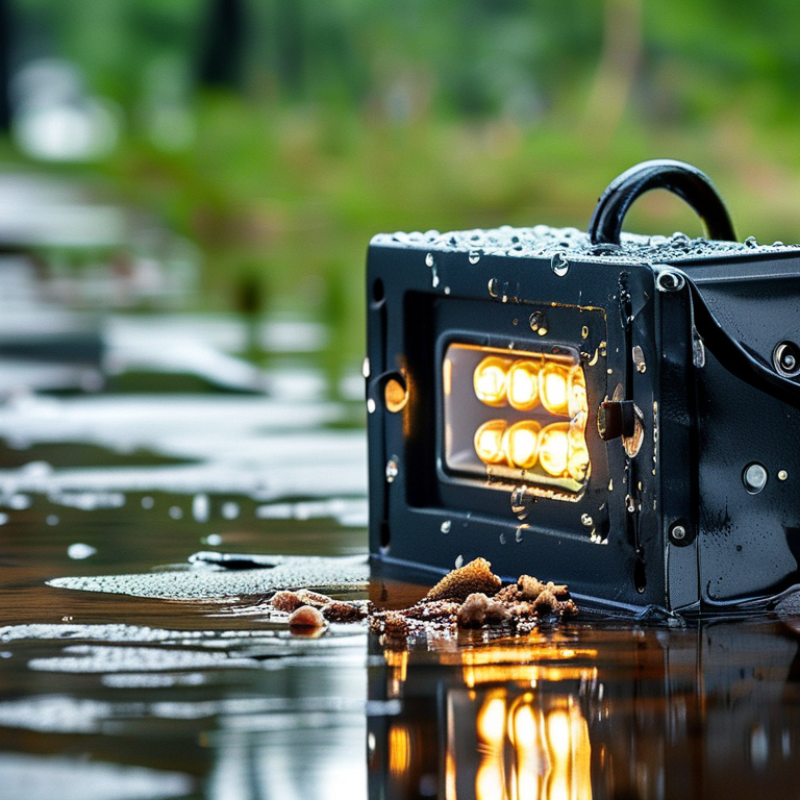
Assessing the extent of water damage in outdoor flood lights is crucial. Begin by inspecting the fixture carefully. Look for visible signs of rust or corrosion. This indicates prolonged exposure to moisture. Check the wiring too. If it appears frayed or discolored, it's likely affected.
Water can seep into the fixture's internal components, leading to electrical issues. If the bulb is burned out, remove it and check for moisture inside. Cracked or broken seals often allow water entry. Use a flashlight to examine hard-to-see areas.
Tips: Always disconnect power before any inspection. This ensures safety while checking for water damage. Dry any wet components naturally. Do not use heat sources as they can cause further damage.
Next, consider the location of your outdoor flood lights. Poor drainage can contribute to water pooling around fixtures. This can accelerate corrosion and damage. If you discover significant damage, replacement may be necessary. Sometimes, mud or sediment can get trapped inside the light, complicating repairs.
Tips: Regular maintenance can help prevent future issues. Clean around the fixtures to avoid water accumulation. Check seal integrity to reduce moisture ingress. Be mindful of weather conditions too; regular storms can increase risk.
| Step | Action | Estimated Time | Tools Needed |
|---|---|---|---|
| 1 | Turn off power supply | 5 minutes | None |
| 2 | Remove light fixture from the mount | 10 minutes | Screwdriver |
| 3 | Inspect for rust or corrosion | 5 minutes | None |
| 4 | Dry out any moisture | 30 minutes | Towel, blower |
| 5 | Replace damaged components | 15 minutes | Replacement parts |
| 6 | Reassemble and test | 10 minutes | Screwdriver |
When dealing with water-damaged outdoor flood lights, the first step is to gather the necessary tools and materials for the repair. Start with a multimeter to check for electrical continuity. A wire brush will help clean corrosion from contacts. You will also need waterproof electrical tape to seal any exposed wiring effectively. Consider having a replacement bulb on hand. A screwdriver set is essential for disassembling the lighting fixture.
Ensure your workspace is safe. Lay down a tarp or a soft surface to prevent damaging components further. While working, keep in mind that nothing should feel rushed. Each step requires attention. Even small mistakes can lead to further issues. After removing the flood light, inspect the wiring closely. Look for any frayed or damaged sections. If you find issues, you may need additional connectors. Having heat-shrink tubing can also help in creating airtight seals around those connections.
Remember, having the right tools is crucial, but the execution is just as important. Taking your time can make the difference between a successful repair and a hazardous situation. Always be cautious about your surroundings, and double-check before reassembling the fixture. A well-prepared approach might save time and enhance your repair experience.
Water damage can severely impact outdoor flood lights. Repairing them requires careful steps to ensure they function properly afterward. Start by disconnecting the power supply to prevent any accidents. Remove the flood light from its mounting. This step requires a screwdriver and some delicate maneuvering.
Next, inspect the exterior for signs of damage. If the lens or body appears cracked, it may need replacement. Take precision tools to open the light and check the internal components. According to the National Electrical Manufacturers Association, approximately 30% of outdoor lighting failures are due to moisture damage. Therefore, drying the components is crucial. Use a soft cloth to wipe away water. Consider using a gentle fan to circulate air, aiding in quicker drying.
After drying, reassemble the flood light carefully. Ensure all screws and fittings are tight to prevent future water intrusion. A report from the Lighting Research Center suggests that regular maintenance can extend the lifespan of outdoor lighting by up to 50%. Moisture can be relentless, and some users may overlook the importance of timely repairs. Reflecting on this, it’s essential to check these fixtures regularly. Maintain vigilance to avoid future issues.
Water damage can severely affect outdoor flood lights, making them malfunction. To begin repairing, first, turn off the power. This will ensure safety while you work. Carefully disassemble the fixture. Inspect each part for signs of rust or corrosion. Look closely at the wiring, socket, and any other connectors. If the components appear damaged, it’s crucial to replace them.
Replacing damaged components is essential for the longevity of the light fixture. Ensure you purchase high-quality replacements that match the specifications of your light. Use a multimeter to check the functionality of each, if possible. Replacing a socket or wiring may seem daunting, but with patience, it can be manageable. Once all components are replaced, reassemble the fixture carefully. Pay attention to how the pieces fit together and avoid forcing any parts.
Before reapplying power, double-check your work. Ensure all screws are tight and no wires are exposed. This repair process is not without challenges. Mistakes can occur, such as mismatching parts or improper fittings. Take a moment to reflect on your approach. Learning from these experiences will improve your skills over time and enhance your confidence in handling future repairs.
After repairing a water-damaged outdoor flood light, testing its functionality is crucial. Begin by ensuring that the light is completely dry. Moisture often lingers in inaccessible areas, which can lead to further issues. According to the National Electrical Code, any electrical repairs must comply with safety standards. Ignoring these could pose fire hazards or cause electrical shock.
When testing the flood light, restore power and observe its performance closely. Check for flickering or inconsistent illumination, indicating potential water damage residuals. A study from the Lighting Research Center noted that over 30% of outdoor lighting failures are due to moisture ingress. Even a small moisture accumulation can compromise the entire system, leading to ongoing electrical issues.
It's important to inspect the components: the bulb, the fixture, and connections. A faulty connection can cause intermittent functioning. If the light doesn't operate correctly, re-evaluate the repair process. A thorough assessment is necessary, as previous attempts to seal the unit might not be effective. Each test you perform informs your next steps, ensuring that the repair achieved the desired outcome.
: You need a multimeter, wire brush, waterproof electrical tape, screwdriver set, and possibly a replacement bulb.
Lay down a tarp or soft surface and take your time. Rushing can lead to mistakes.
Inspect the wiring for frayed or damaged sections. Look closely at all connections.
After disconnecting the power, wipe it down with a soft cloth and use a gentle fan for air circulation.
Replace any cracked lenses or damaged bodies. Internal components should be assessed for moisture damage.
Regular maintenance is crucial. Check fixtures frequently and address issues promptly to avoid larger problems.
When learning how to repair a water damaged outdoor flood light, it's important to first assess the extent of the water damage to determine the necessary steps. Begin by gathering the right tools and materials required for the repair process. A step-by-step guide will help you dry out the flood light effectively, ensuring that moisture is thoroughly removed before proceeding.
Once dry, check for any damaged components and replace them as needed. Reassemble the fixture carefully, paying attention to each part to ensure proper functionality. Finally, test the flood light after repair to confirm that it operates correctly. Following these guidelines will not only restore your flood light but also enhance its longevity, all while demonstrating easy and effective repair methods.

Dorde Lights